The Ruth Stout Method for Gardening- Step-by-Step
I heard about Ruth Stout’s method from my grandparents, and I found it interesting and cost-saving for planting.
Of course, who wouldn’t appreciate a method in which there is no need to spend money to buy potting soil, fertilizer, etc? Yes, I think you got my point about Ruth Stout method where there’s no need to use such expensive products for gardening.
It’s actually a way to start an organic vegetable garden without the need for fertilizer, watering, digging, etc. Are you interested to know how? For that, you need to continue reading so that you can understand the method and apply it in your garden.
Ruth Stout method:
The method of routh stout was created by Ruth Stout, born in 1884 also known as mulch queen because of her interest in using mulch in the garden.
In 1920 she decided to replace the traditional gardening methods such as plowing and weeding with a thick layer of mulch. She has believed in her method of gardening and has published her ideas in various magazines from the 1950s to the 1970s.
Ruth stout methods were gaining popularity because it was simple to implement and made it very easy to grow vegetables and food for your family. She also claimed this gardening method will work for any soil type and gardener.
Main idea:
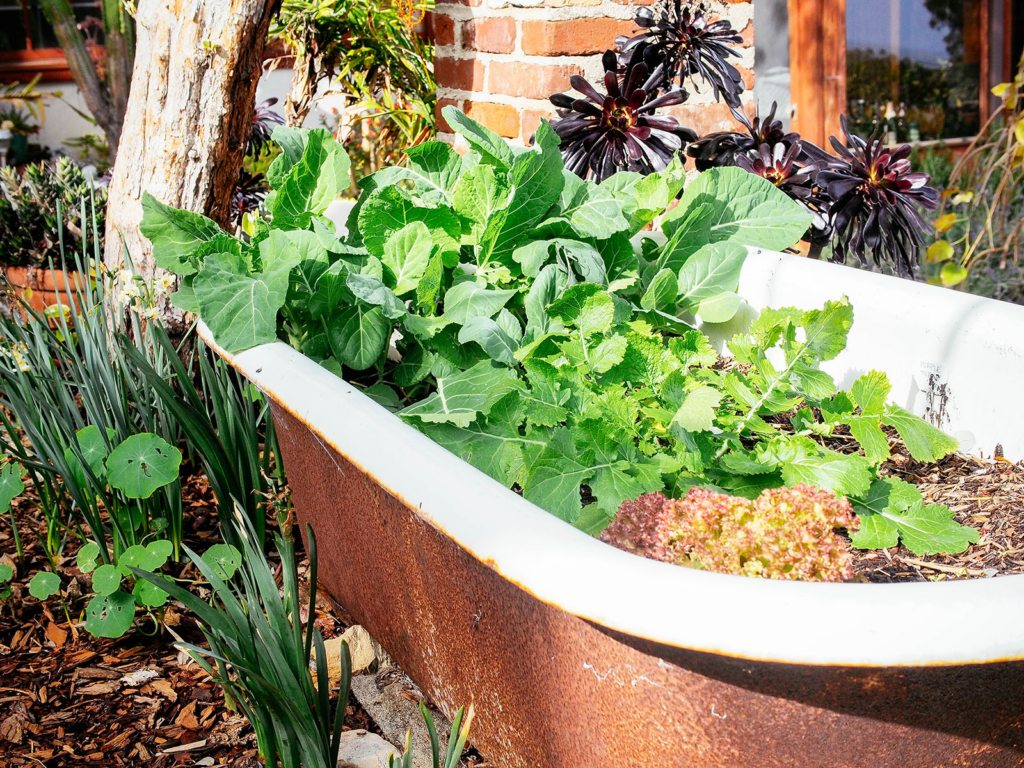
To perform ruth stout gardening methods you need to lay a thick layer of hay mulch permanently over the soil. The mulch will seem to plants and garden beds as it happens in nature. You can spread leaves, twigs, prunings, kitchen scraps, grass clippings, and more in mulch after which nature is used to complete the process which makes your soil more nutrient without adding any fertilizer.
Start a Ruth Stout Garden:
The core behind the Ruth stout gardening is that it is perpetual mulching with hay and has been great for over 35 years in which there are no requirements for digging, tilling, watering, or using fertilizer.
The method does sound easy to implement but some details in methods if you want to be successful at the end.
The following are 6 Steps to a Ruth Stout Garden:
1. Understand Garden Soil:
To start Ruth stout garden there are some easiest mistakes you face such as assuming laying some hay mulch on the ground will start acting in an instant. But it is not true for Ruth stout gardening. The mistake is mostly made by gardeners who are beginners and complain the method does not work.
Even routh first understand it soil which was before tilled every spring and it was nearly for 15 years. Now she added spoiled hay on top and started to plant the plants. So to first start Roth stout gardening you need to scratch all the factors you need to have to make your soil type workable.
Understand it by an example,
In case your garden soil has clay-heavy soil which will be hard and thick for vegetable roots to grow here has poor drainage so you need to first till the soil and then add hay to it.
Also if garden soil is very sandy then all the nutrients that it will get from hay mulch will leach when it rains and retain less water. So you need to work for leaf mold and compost to improve moisture and nutrient retention after which you can hay mulch.
You need to work on your soil in the first year only in the second year the hay will create a thick layer of mulch which is enough to ditch tilling and digging.
2. When to Start:
According to the Routh stout, you can start preparing a garden in late summer or fall. It will make hay mulch break down and become compost, suppress all weeds, and keep the soil warm for early spring.
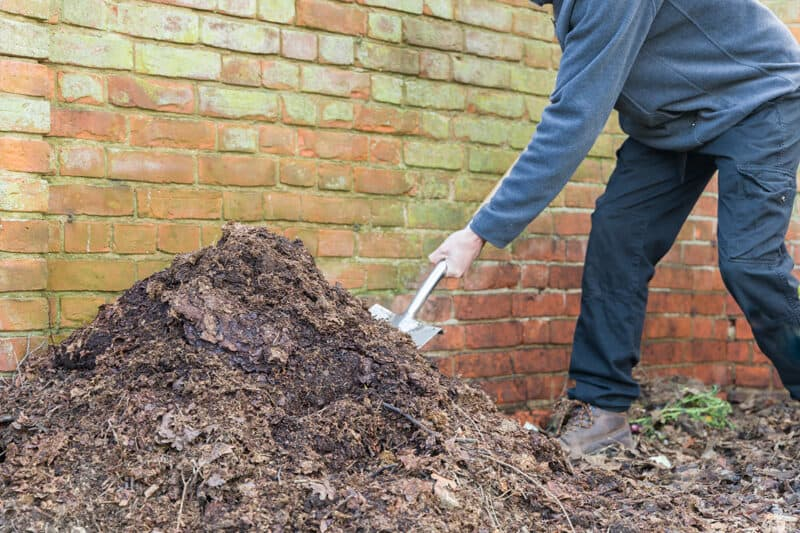
3. Gather Mulch Materials:
The Ruth stout used spoiled hay to mulch the garden but if you don’t want to add spoiled hay to the soil you can also use regular hay in which you can mix old leaves, straw, grass or lawn clippings, pine needles, and vegetable kitchen scraps.
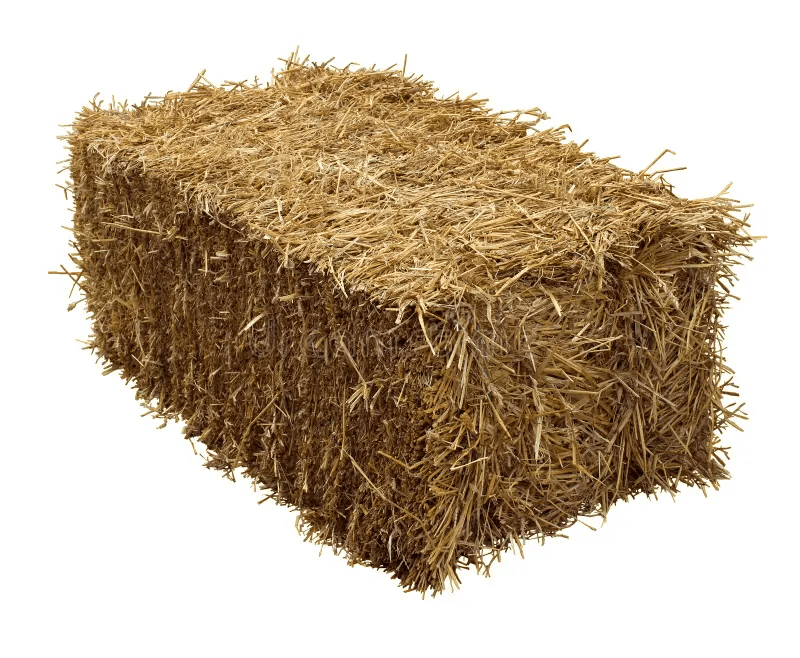
Straw or Hay:
Talking about Ruth Stout she used hay in her garden but she has also referred to it as straw. You don’t need to confuse straw and hay as they have different consistency and nutrient availability.
When we talk about hay they are thinner and break down easily which contains more nitrogen. It also consists of grass and weed seeds. On the other hand, straw is a coase that takes longer to break down and contains less amount of nitrogen, and more amount of carbon but it does not consist of weed and grass seeds.
According to me, you can use some straw in ruth stout garden and for the best result, you need to use a bulk of mulch that is made out of hay.
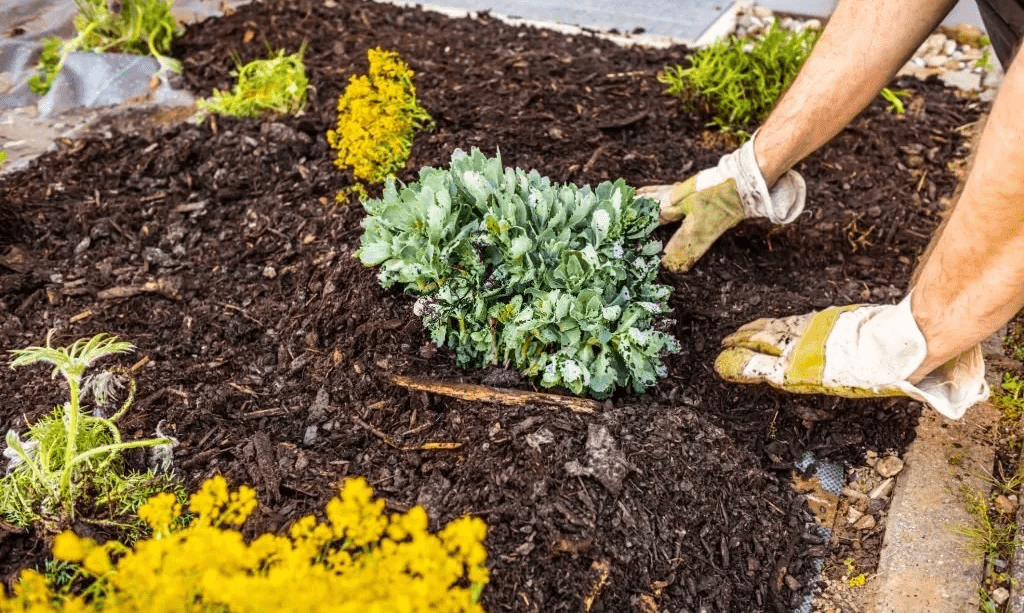
4. Spread the Mulch:
You only need to prepare the soil before laying the mulch if the soil is very clay-heavy or sandy. After which you don’t need to worry about removing the plants or trimming the grass as it will smother the soil and add valuable nitrogen to the soil after they get decomposed in the soil.
You need to spread the mulch in an 8-inch-thick layer which can suppress weeds but make sure it is not thick so that the seed will grow nothing but only hay. During spring the mulch will reduce to half of the thickness.

In case you are spreading hay mulch in rows or beds you need to make sure they are oriented from north to south.
Note: Plant your taller crops on the northern side and shorter crops on the south side which will enable them to get vegetable enough amount of sunlight in the growing season.
5. Start Planting:
The process of ruth stout gardening can be started weeks after the last spring Frost.
Ruth used to sprinkle the seeds in a row and then pattered the mulch using their hand until the seeds used to fall through the Hay. After which she used to cover the potatoes to prevent them from drying out in the sun. To give nitrogen boost she used to sprinkle sim cottonseed meal for the young.
Now for the entire time she used a hay mulch for growing vegetables and never watered them. In case you are doing it for the first year during winter having no snow and dry spring you need to water the merge after sowing the plant.
By doing this the mulch will retain the moisture and you don’t need to water them.
6. Keep Mulching:
After the seed starts sprouting and the plant begins to grow you need to add more hay mulch which will help to retain the moisture, increase the nutrients, and smoother the weed that will sprout in the mulch.
Completing the process of harvesting the vegetable allows the plant to die after which you need to cover them with another 8 inches layer of hay mulch.
In the next few months, the mulch will break down, building a layer that will make the soil healthy organic nutrient-rich.
Vegetables to grow in the garden:
The following a list of vegetables that you can grow in a ruth stout garden:
- Potatoes
- Strawberries
- Tomatoes
- Peppers
- Eggplants
- Cucumbers
- Squash and pumpkin
- Asparagus
- Garlic
- Onion
- Peas
- Beans
- Soybeans
- Cabbage
- Lettuce
- Kale
- Turnips
- Corn

In short, the plant that thrives in moist soil will also grow quickly in Ruth Stout garden bed as putting a thick layer of mulch does help in holding plenty of moisture.
Final Thoughts:
The main motto of Ruth Stout Gardening was to inspire the garden for self-sufficient nature to follow courses for gardening by way of using permaculture.
In order to try this method I will recommend you to be patient and don’t hesitate to work more in the first year before starting the method. As soon as the garden is established your hard work will result in a high yield with very little care and maintenance.
Where do Ruth Stout live?
Ruth Stout married to Fred Rossiter in June 1929 at age 45 and in March 1930, the couple moved to a 55-acre farm living in Poverty Hollow, Redding Ridge, on the outskirts of Redding, Connecticut.
What are the main disadvantages of using straw mulch?
there is a disadvantage of using straw mulch is that you need to reapply it every year because it decomposes very quickly. The straw is considered a breeding place for pests such as slugs and snails